Launch Sequence: Activating your memberships and billing.
1. Schedule billing end dates
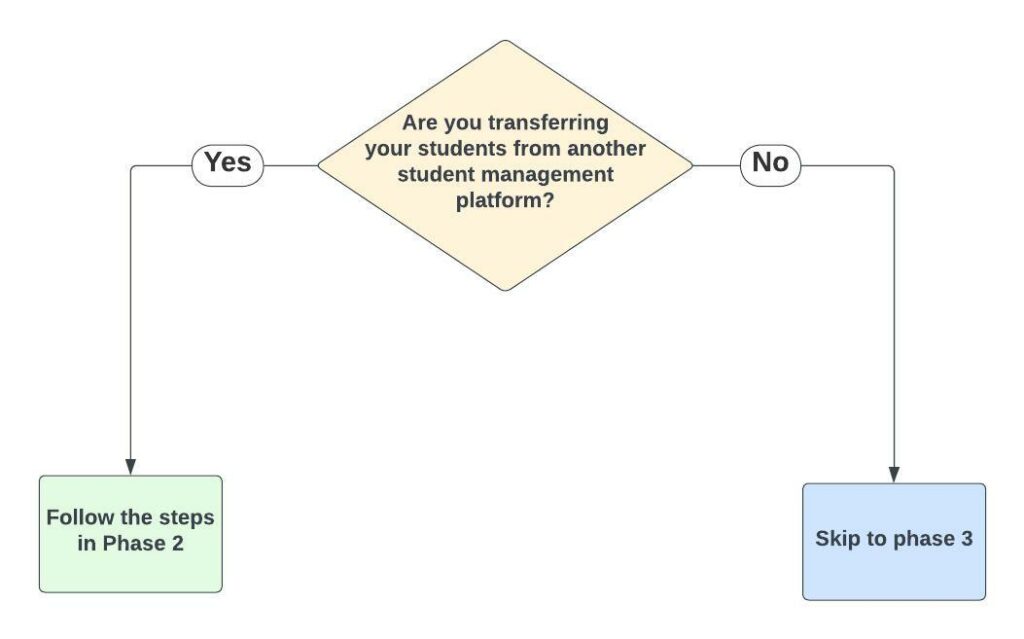
2. Activating Your Student Accounts
Student Activation Checklist
- (*If you had your student’s billing info imported) Check on the imported invoices for the first 5-10 students you activate to make sure they were transferred to the correct accounts.
- Edit Membership
- Check “Rank System”
- Check “Track Membership As” = Renewal
- Agreement length type
- Price
- Billing date > set forward
- Set Billing method to CC on file (*Set to “In House” if no CC is available and see Step 4 for further actions)
- Check appropriate rosters
- Add Notes / Labels if desired (Helpful for family discounted memberships)
- Release Memberhsip Hold
- (*If no billing is available) Add “Update-CC” Tag
- Set Rank
- Update Digital Card Attendance Checkmarks via “Mass Update Attendance Card”
- Family Accounts
- Set Connected Accounts
- Add the Family Membership Discount tags
When you are finished activating all of your student memberships, follow the steps in the video to update the Missing Digital Agreements report to keep your Enrollment Kiosk nice and clean.
You are now officially ready to roll!